Getting Started
Activating the plugin
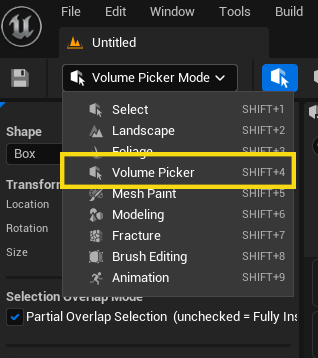
Click the "Vol. Pick" button in the Level Editor toolbar to toggle the Volume Editor Picker mode on.
A control panel appears on the left side of the editor, and a 3D volume widget appears in the viewport.
When the mode activates, the 3D volume is automatically positioned based on your current selection:
- Actors are selected — the volume spawns around the selected objects, fitting them.
- Nothing is selected — the volume spawns in front of the active viewport camera.
Press Escape at any time to exit the mode.
Making your first selection
1. Position the volume
The volume is automatically placed either:
- Around currently selected actors (if any are selected when you activate the mode)
- In front of the active viewport camera (otherwise)
Use the transform gizmo in the viewport to move, rotate, and scale the volume, or type values directly in the control panel.
2. Choose a shape
Use the Shape dropdown in the panel or press a shortcut:
| Key | Shape |
|---|---|
| B | Box |
| N | Sphere |
| C | Custom Mesh |
3. Select
Press Enter to select all actors inside (or touching) the volume.
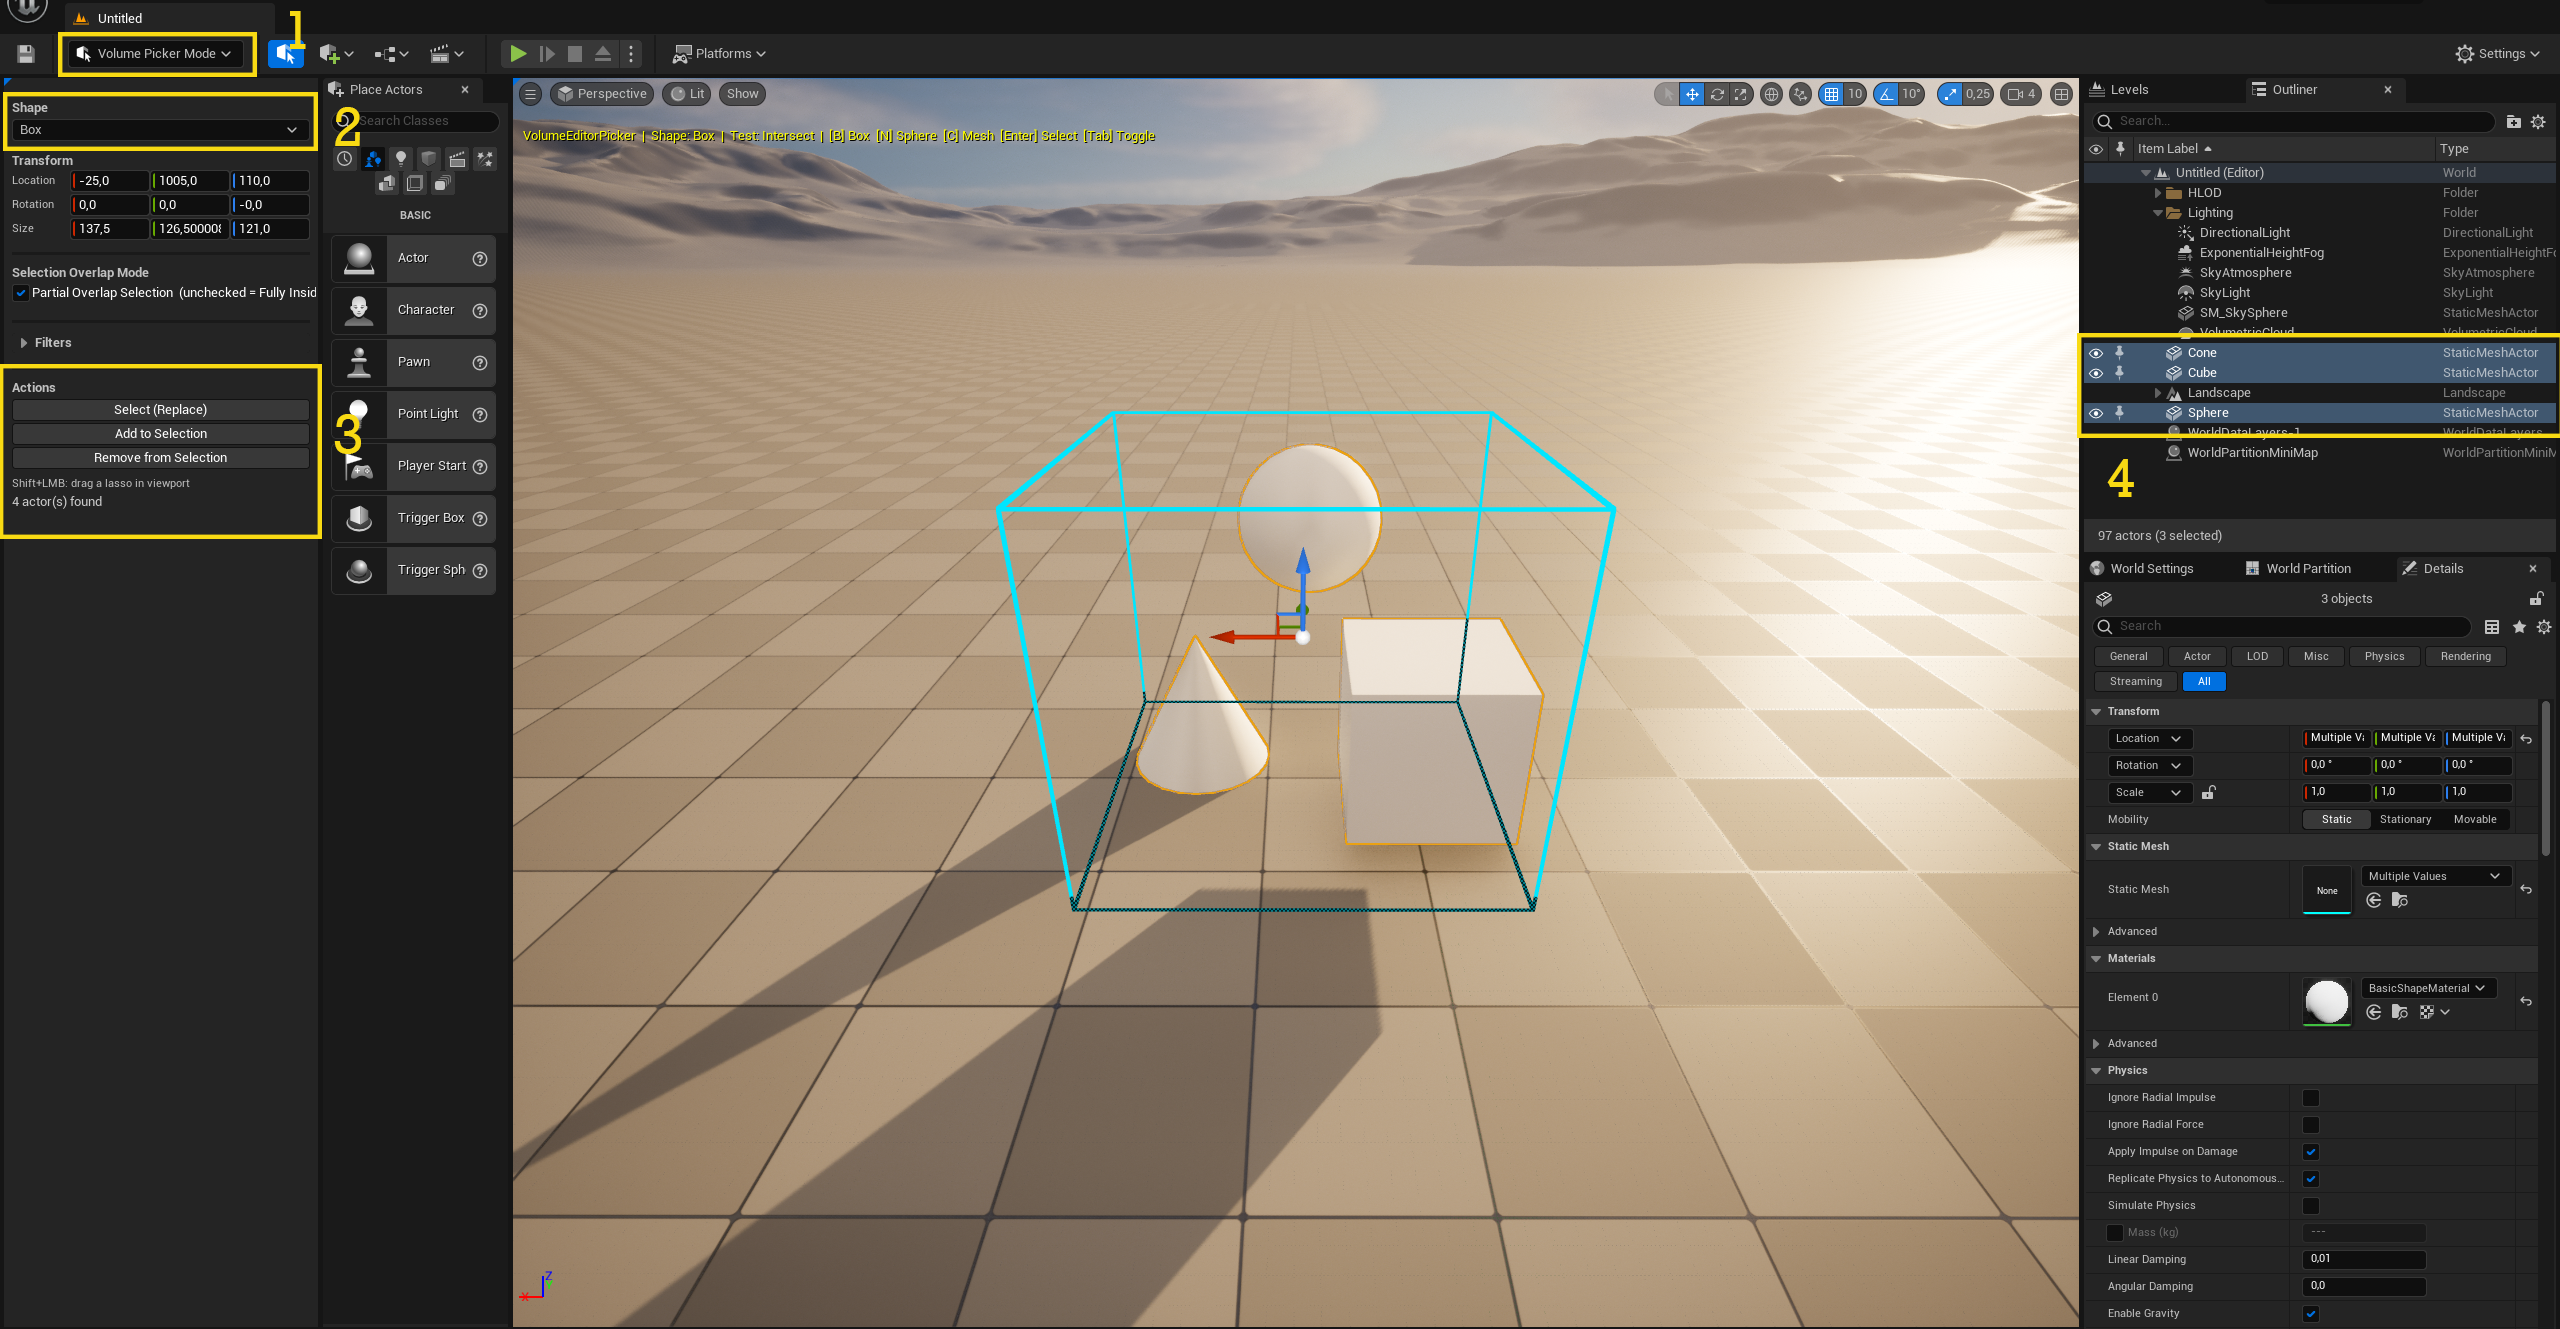
The panel shows how many actors were found: N actor(s) found.
Choosing what gets selected
Contain vs Intersect
Press Tab to toggle between:
- Intersect (default) — selects actors that touch or overlap the volume
- Contain — selects only actors fully enclosed by the volume
Add, Remove, or Replace
| Input | Operation |
|---|---|
| Enter | Replace current selection |
| Ctrl+Enter | Add to current selection |
| Alt+Enter | Remove from current selection |
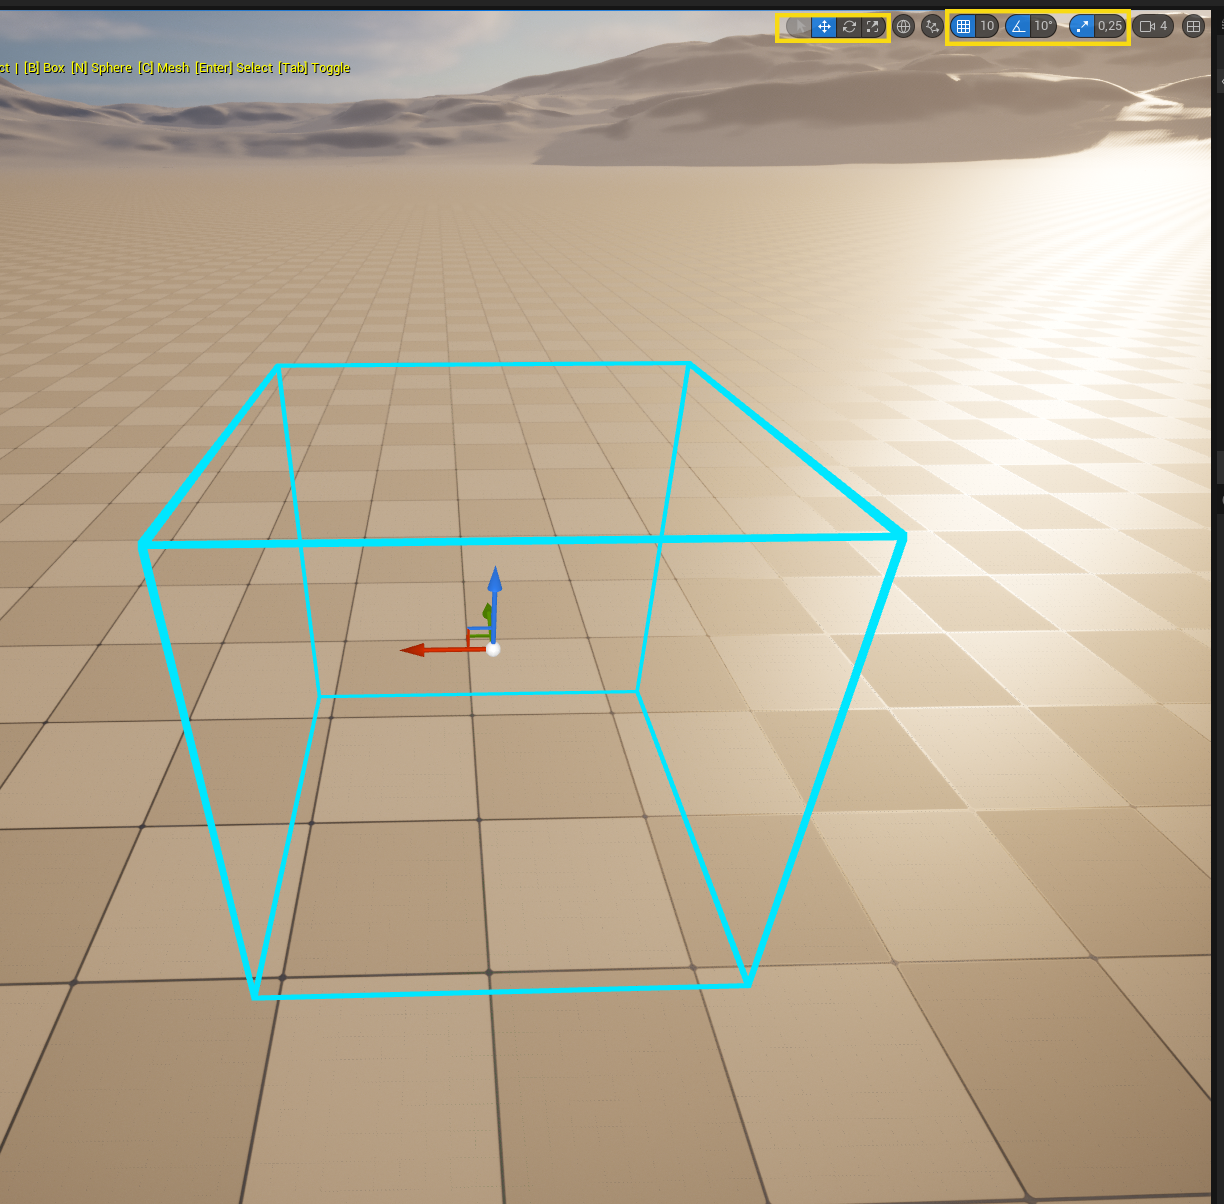
HUD overlay
While the mode is active, the top-left corner of the viewport shows a yellow status overlay with the current shape, test mode, and keyboard shortcuts.
![]()